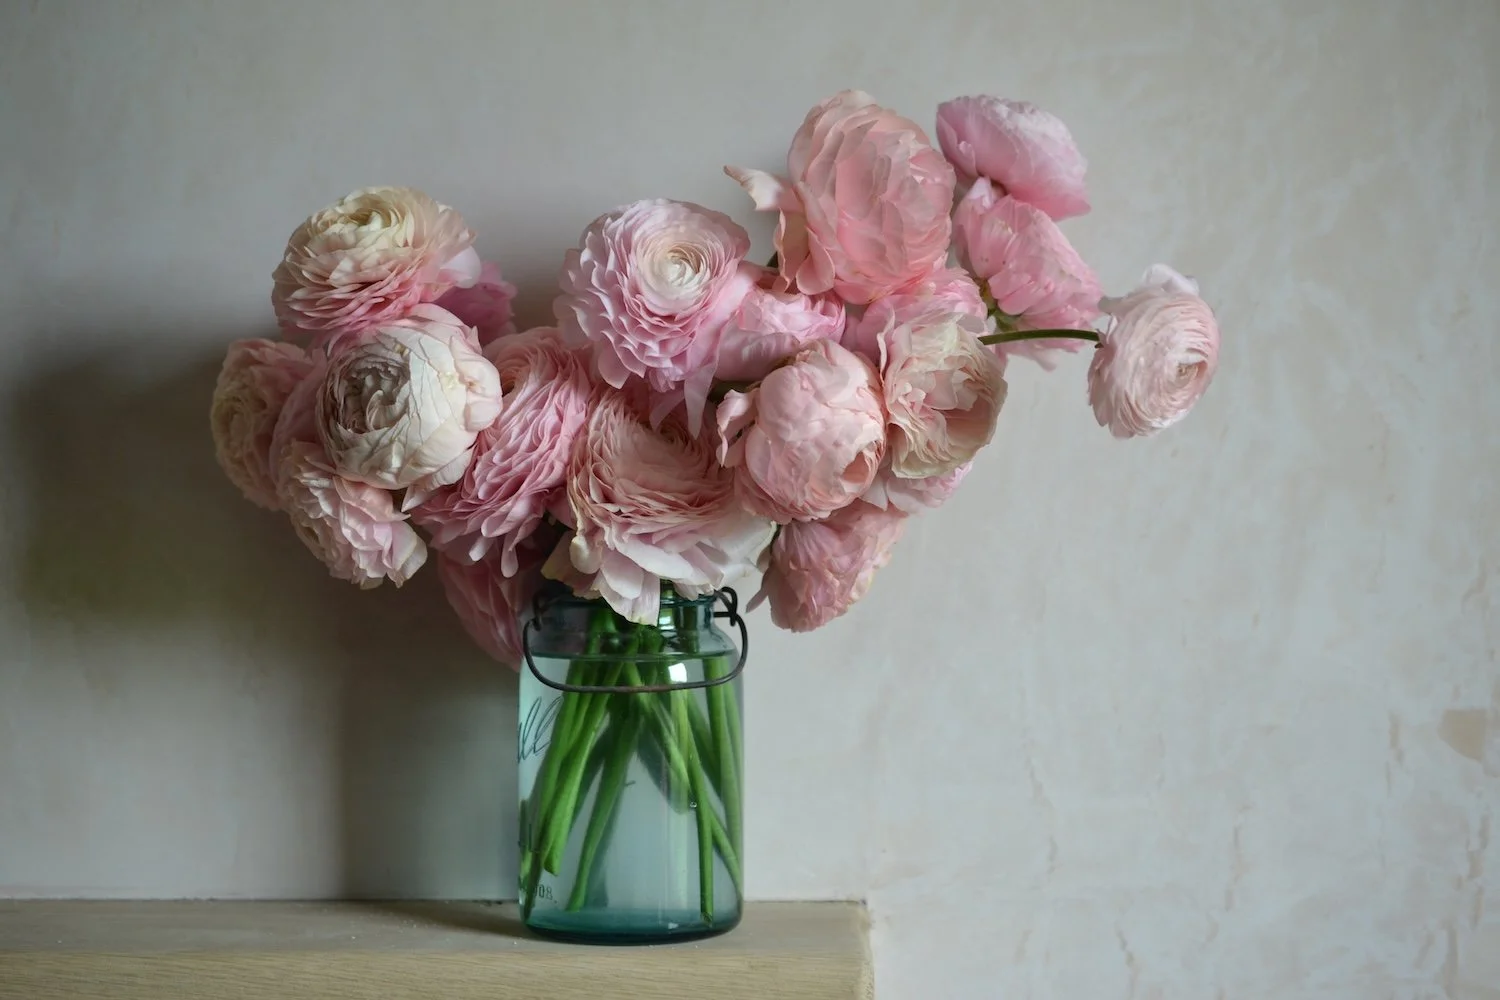
How I grow ranunculus flowers for drying
It’s the time of year in the UK when gardeners and flower farmers are getting ready to start their ranunculus corms (also often called ‘claws’ because of their shape). I’ve been growing ranunculus for seven years and have developed a process that works well for me, which includes growing them in crates. I prefer this growing arrangement because I can relocate the crates as needed which allows me to help protect the plants from weather and predation and the plants don’t take up flowerbed space. In this post I go over my method of growing ranunculus from corms. These flowers are so beautiful and I think they’re really worth the effort.
Pre-sprouting ranunculus
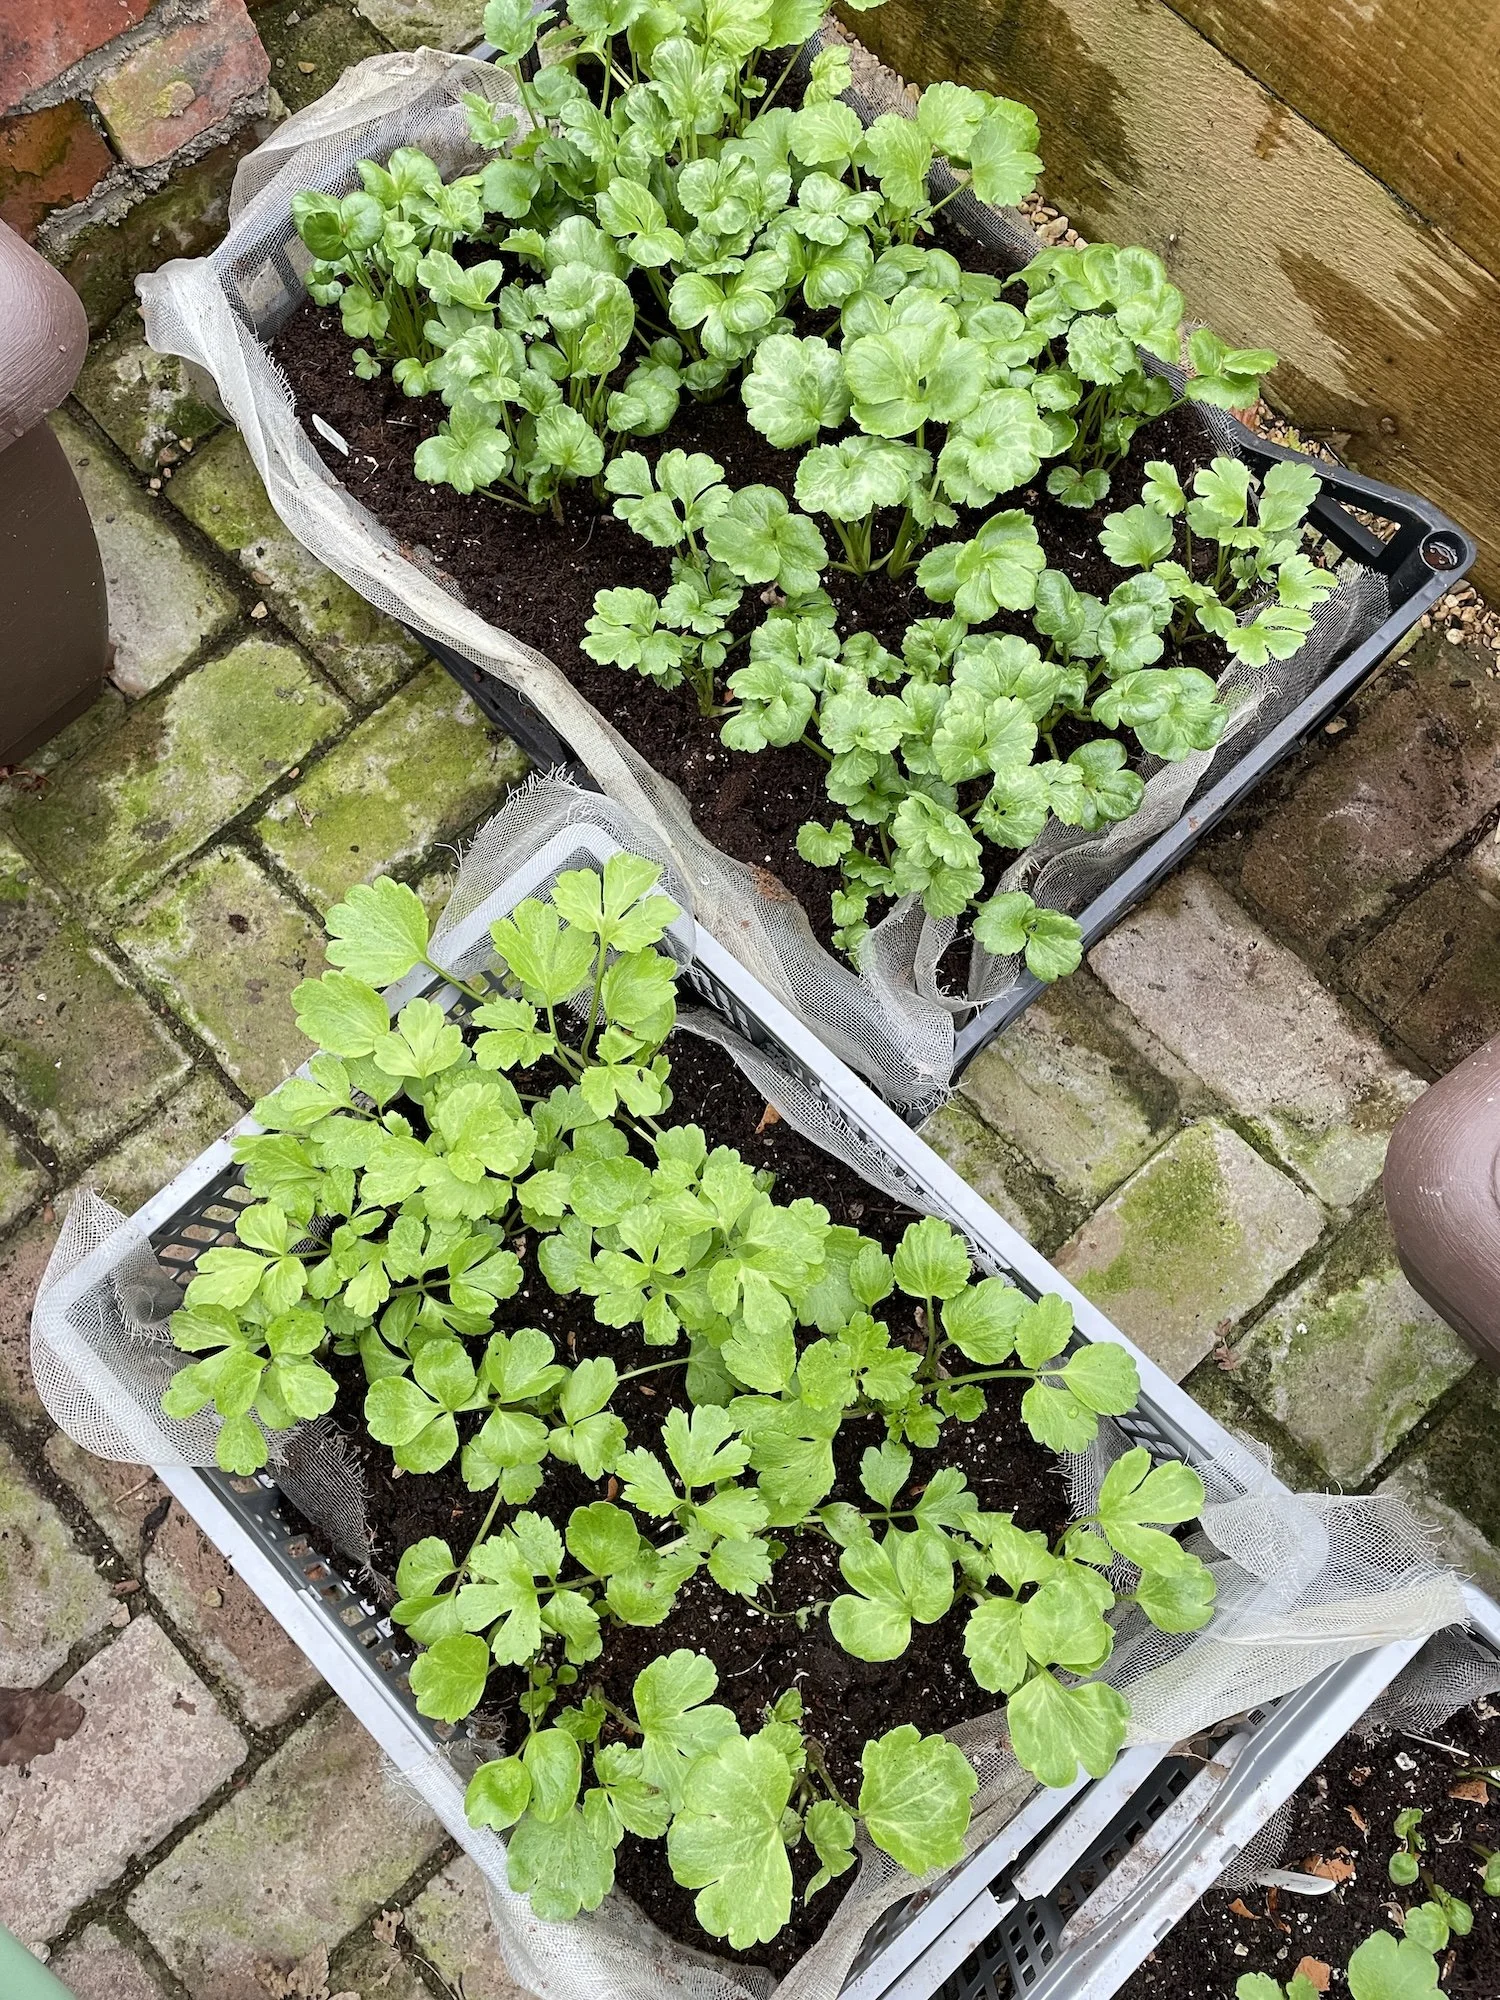
I wait until December or even January to pre-sprout and plant my corms (but you can start them as early as October here in the UK). I don’t grow them for fresh flowers so I don’t need an early crop, plus if they bloom in warmer weather they have a better chance of drying faster and avoiding going mouldy. To pre-sprout my ranunculus, I soak them for 3-4 hours in clean water to rehydrate them, then place the now plump claws in trays of damp vermiculite, barely covering them with more vermiculite, and leave them covered with a piece of cardboard in a cool dark place until they’ve sprouted roots and small pointy shoots - this usually takes a few weeks. If they’ve sprouted well, I plant them directly into my crates (more on that below). For the corms that haven’t sprouted well but I can see they have active root and shoot buds, I’ll plant them in cell trays or small pots to give them more time to grow and then plant them into the crates. I discard any corms that show no signs of growth after this point. Note - for the 2024 season, I grew them all in 9cm pots before planting them into crates and that worked well too!


Growing in crates
To keep the soil from falling out of my crates, I originally lined them with pieces environmental mesh that I already had, but when the time comes to re-line them I’ll be using a natural material like hessian or sheep’s wool. I filled the crates with about six inches of compost and I’ve left that compost in season to season, adding some new home-made compost to the top each year.
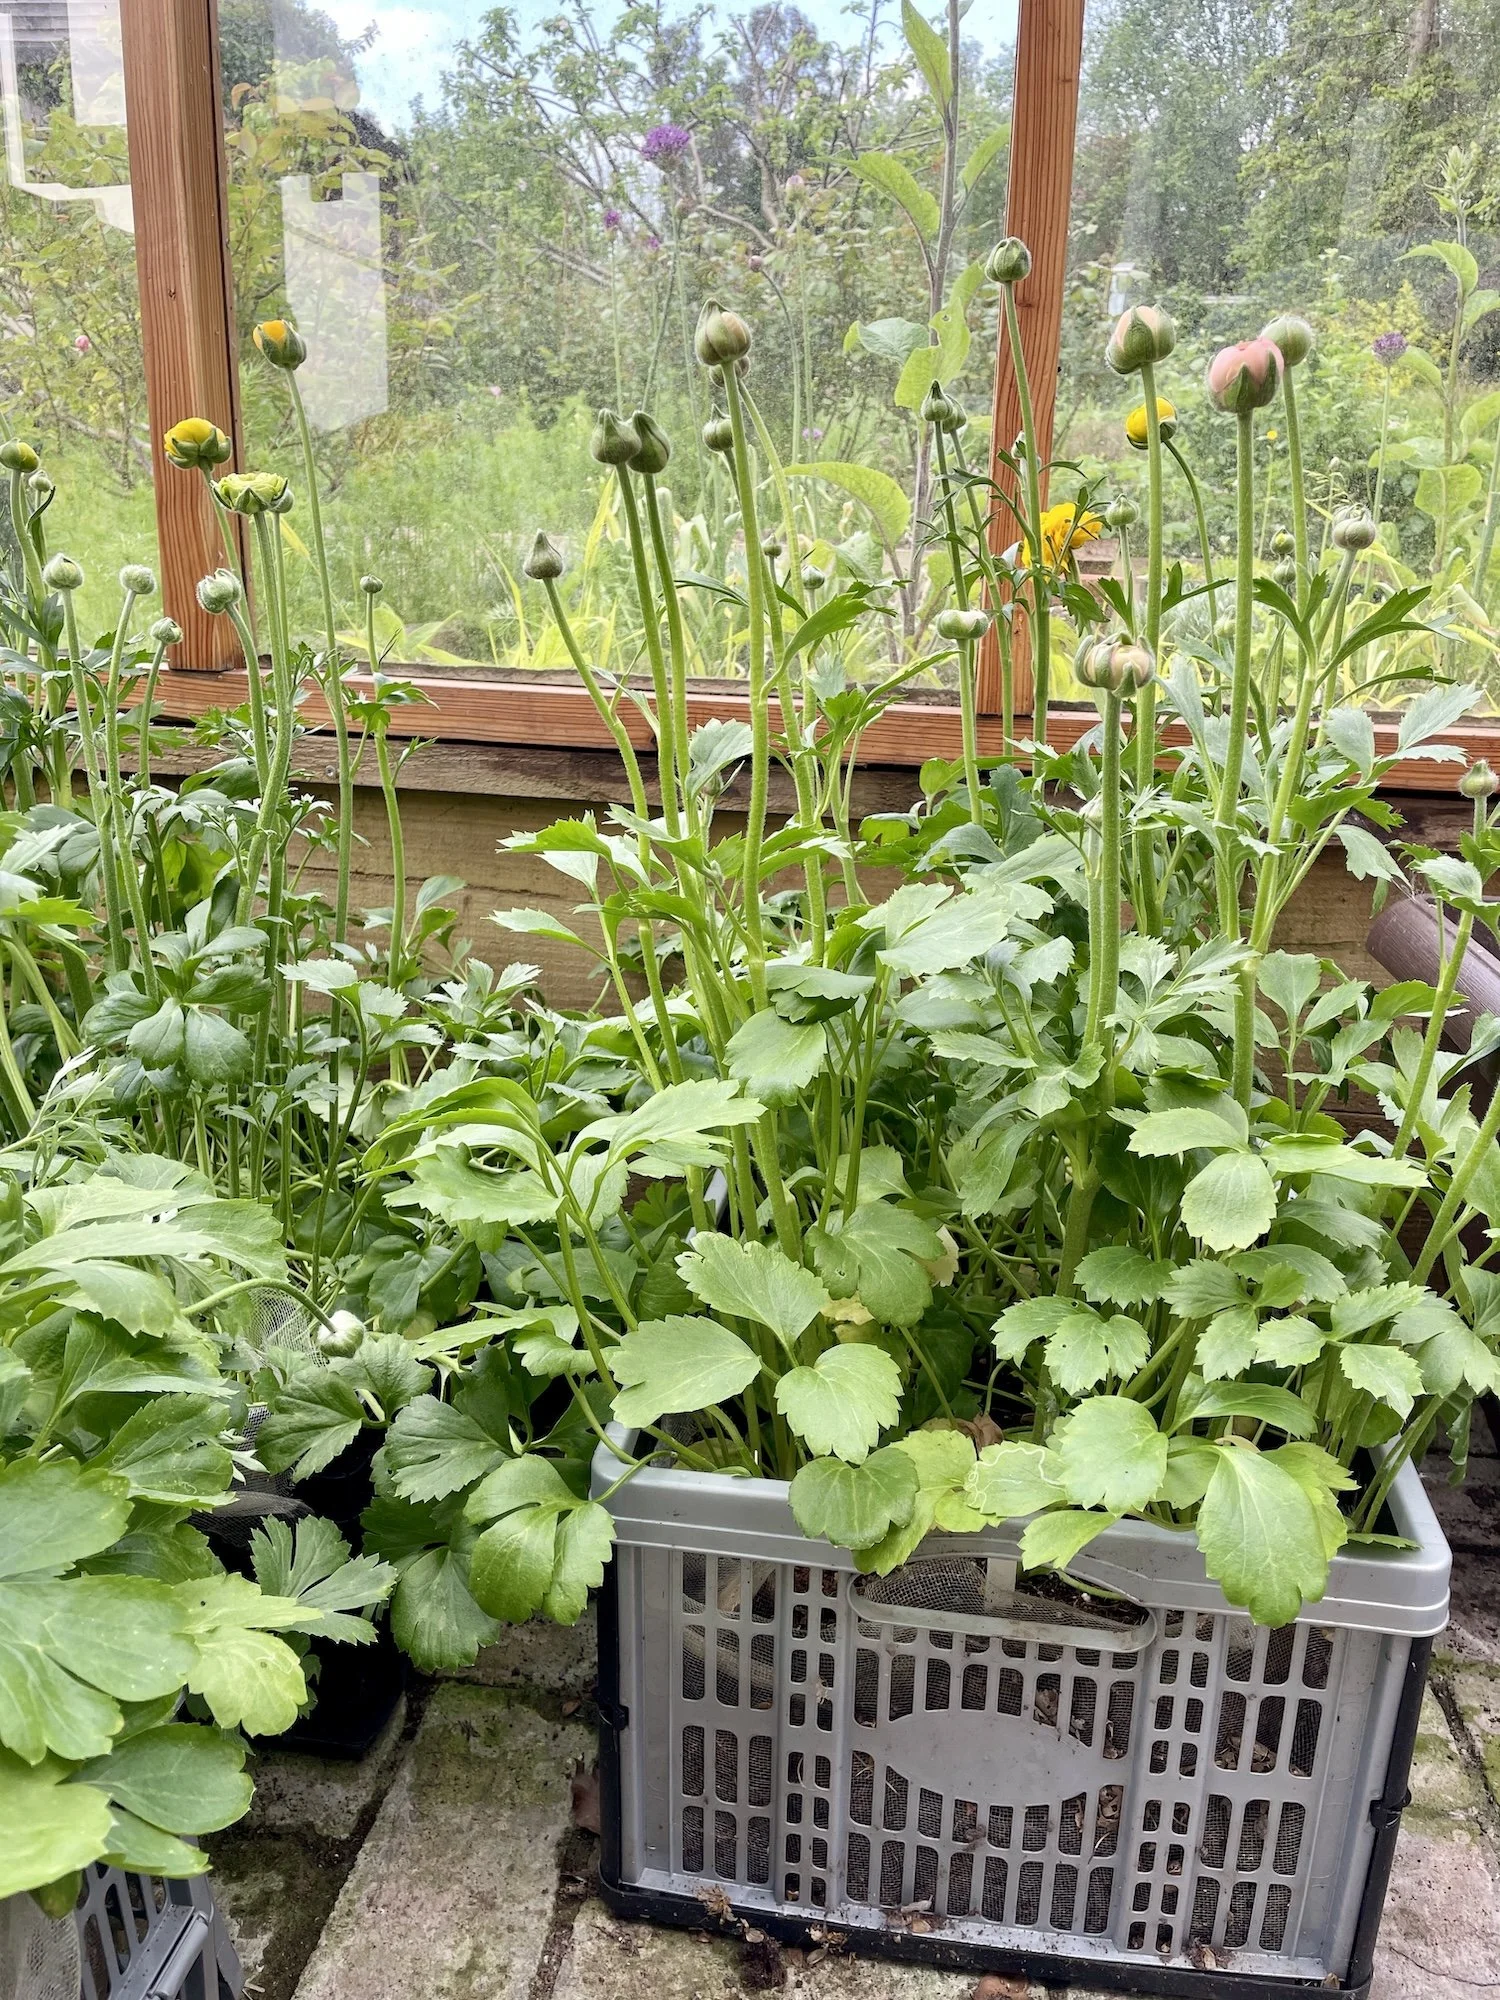
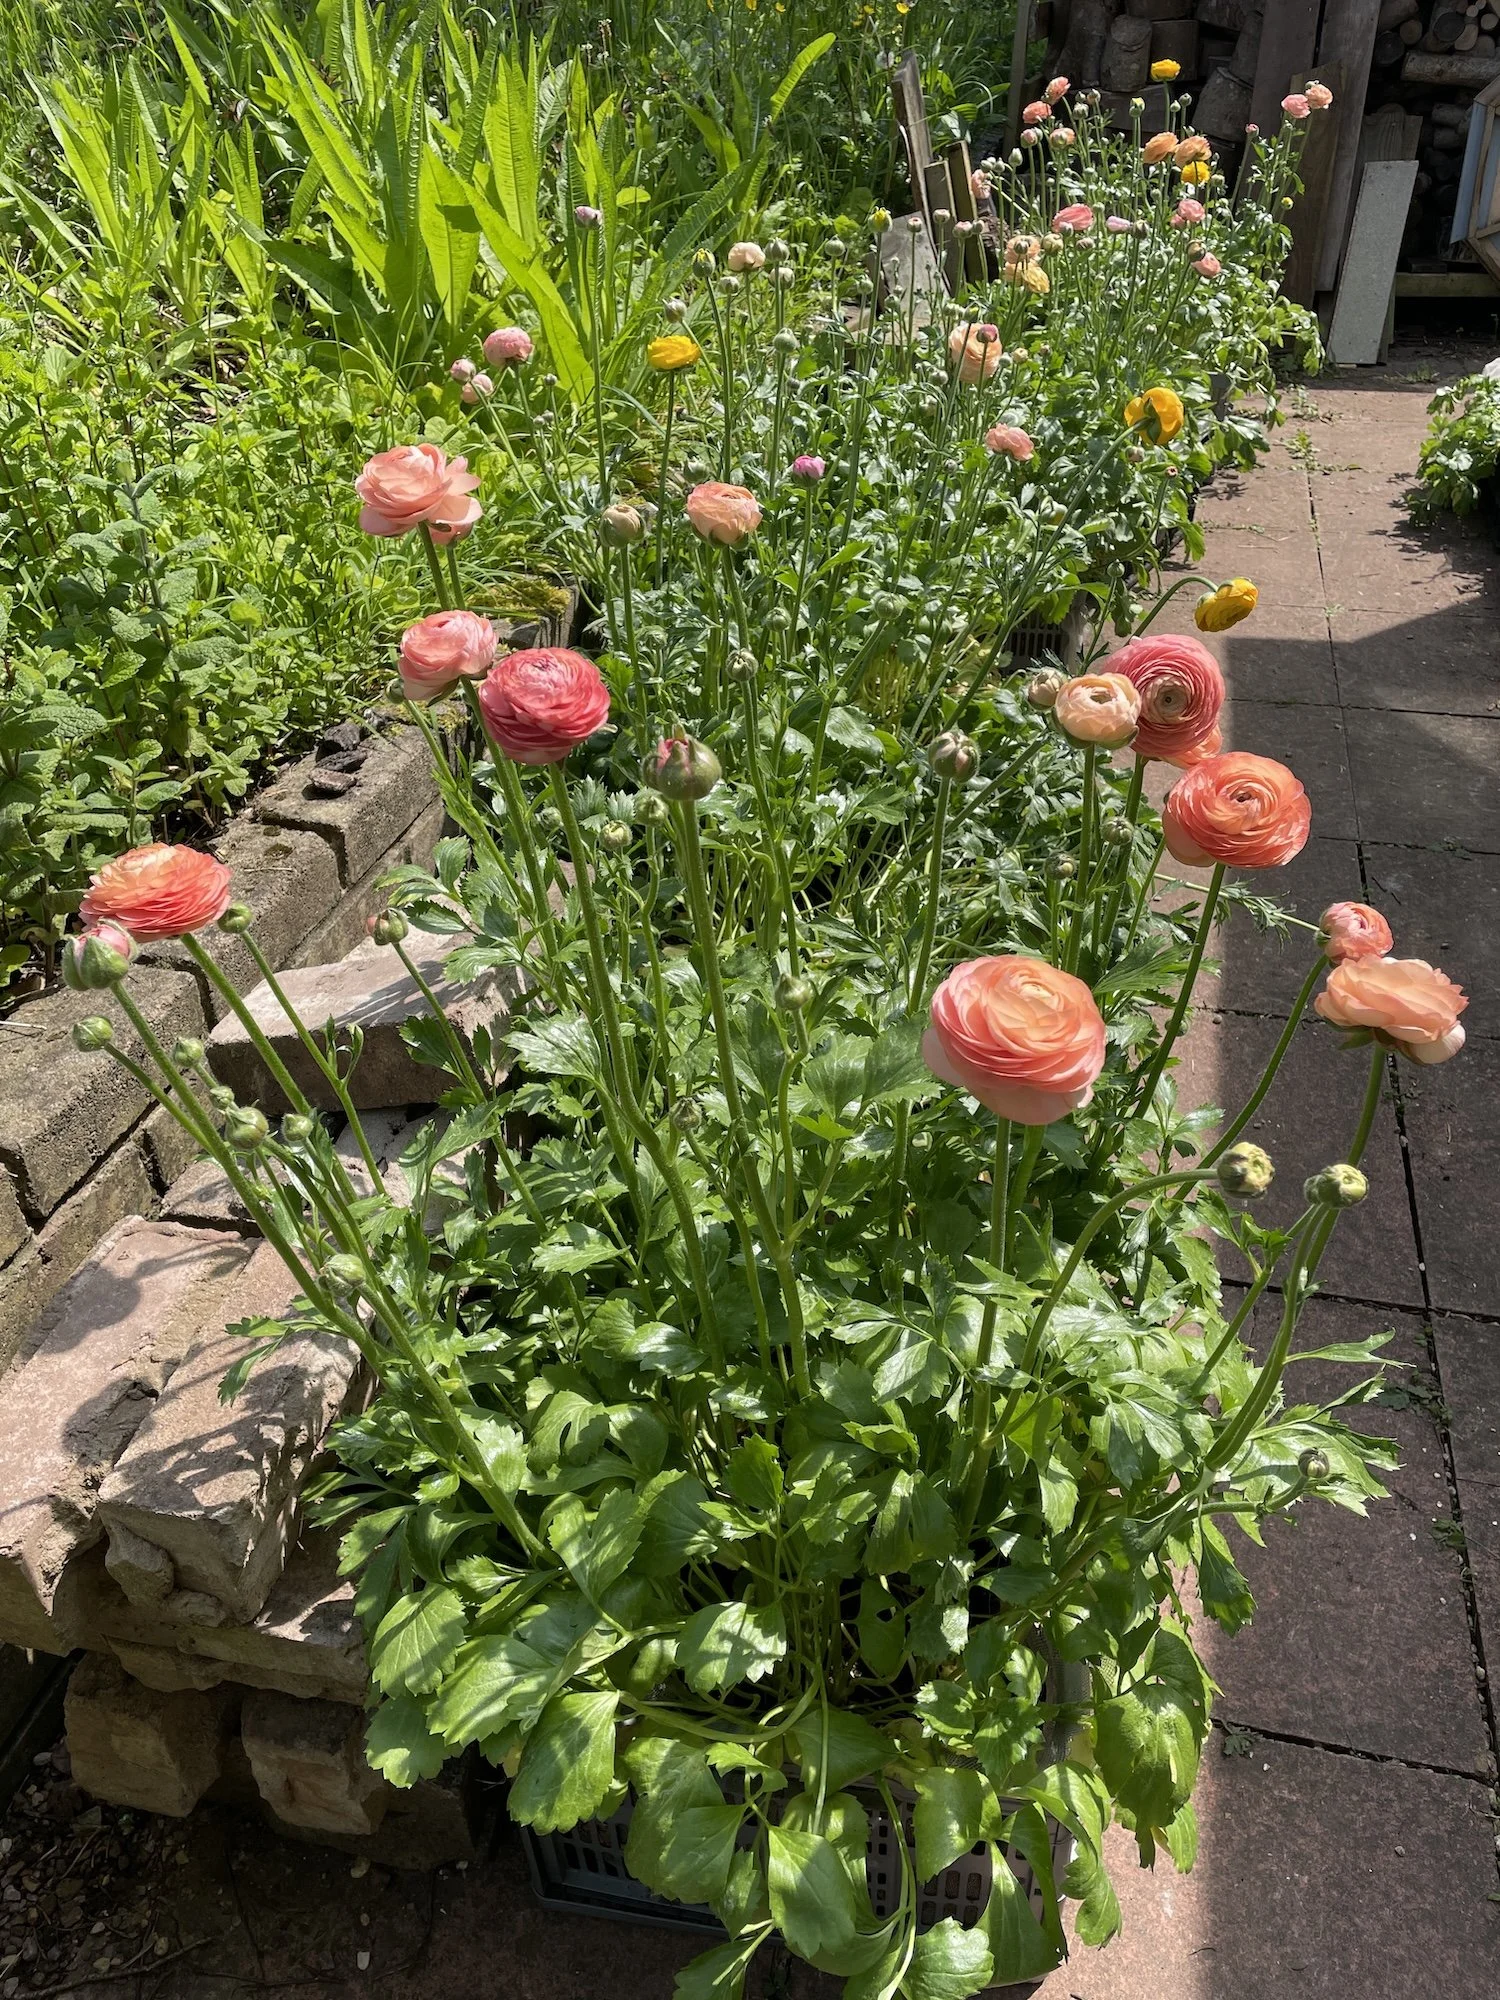
I plant my pre-sprouted corms 9 or 10 to a crate (so about 4-5 inches apart) and give them enough of a watering to dampen the soil but not make it soggy. It’s important not to overwater them, especially at the beginning when they still don’t have much or any foliage because the corms can rot in overly damp, cold compost. Then I leave them to grow in our cold greenhouse where they gradually grow foliage, followed by flowers in spring. In spring I move them outdoors, protecting them from heavy frosts and other damaging weather by moving them back under cover. As they come into bloom, I start feeding them with liquid seaweed. They do eventually get aphids later in spring, and I clean these off by hand.
In my next post I’ll go over everything to do with drying these gorgeous flowers. If you have any questions, please ask in the comments!